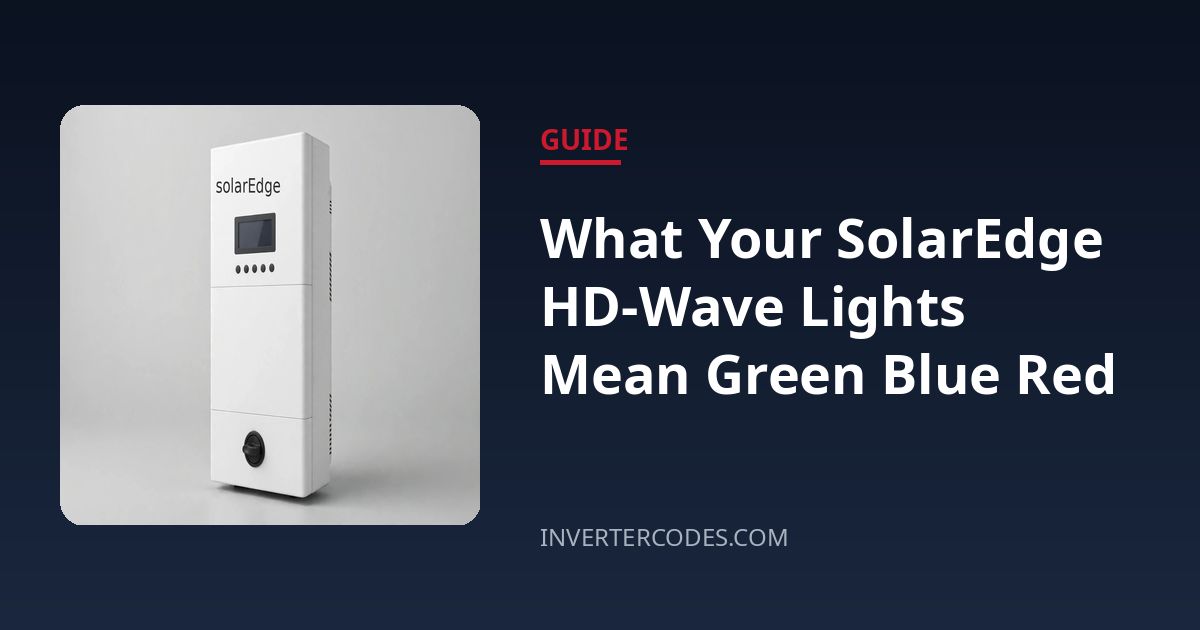
What Your SolarEdge HD-Wave Lights Mean Green Blue Red
The SolarEdge HD-Wave is the company’s compact high-efficiency residential inverter, and its status lights are the fastest way to check on your system. Depending on the exact HD-Wave variant, you will see either a single tri-color LED (green, blue, red) or three separate LEDs beside the LCD (green, yellow, red). This guide covers both, so you can read your unit correctly whichever one is on your wall.
Quick Answer
On display-less HD-Wave inverters, one LED at the bottom of the unit shows green when producing power, blue when communicating with the optimizers and monitoring platform, and red when there is a fault. Green blinking means standby or startup — normal at dawn and after a restart. On HD-Wave models with an LCD screen, three separate LEDs report the same ideas: green for power production, yellow for communication and shutdown states, and red for faults. A steady red on either variant means check the monitoring platform for the error code and call your installer if a restart does not clear it.
The Display-Less HD-Wave: One LED, Three Colors
HD-Wave inverters without a display carry a single status LED underneath the unit that can light green, blue, or red. SolarEdge’s official LED documentation and installer references describe the behavior as follows:
- Green solid — the inverter is producing power. The normal daytime state.
- Green blinking — standby or startup. You will see this at dawn, after flipping the switch on, and for several minutes after any restart while the unit self-checks and waits for stable grid conditions.
- Green off — not producing. Normal at night, normal when the ON/OFF switch is OFF, and expected when a fault has stopped production.
- Blue — communication. It indicates data exchange with the power optimizers and the connection to the monitoring platform. Blue appearing during startup and then staying on alongside green is exactly what a healthy system looks like.
- Red solid — a fault has occurred. This is the signal to stop and investigate: read the error code in the monitoring platform or app, try one controlled restart, and call your installer if the red light returns.
The Startup Sequence, Light by Light
Knowing the normal startup pattern stops false alarms. When you switch an HD-Wave on (or at dawn), expect green to blink while the inverter wakes and self-checks, blue to flicker or come on as it shakes hands with the optimizers and the monitoring platform, and then green to go solid as it begins feeding the grid — a process that can take several minutes while it verifies grid stability. If the sequence stalls at blinking green for a long time in good daylight, check the ON/OFF switch position, the solar breaker, and whether the grid is actually up.
Night Behavior: What Is Normal
At night the HD-Wave essentially sleeps. Expect green to be off and the unit to look dark; on some firmware versions you may notice an occasional brief flicker of green, which is the unit’s low-power housekeeping and not a fault. Blue may also be off overnight if communication sleeps. Judge the lights by daytime behavior: a unit that is dark at night but goes through its normal green-blue sequence at sunrise is working perfectly.
HD-Wave Models With an LCD Screen
Earlier HD-Wave inverters have an LCD panel with three LEDs to its right, and the color scheme is different — do not apply the green/blue/red logic here. Per the HD-Wave installation guide:
- Green — power production. ON when producing, blinking in standby until working voltage is reached, OFF when not producing (night, switch OFF, or error).
- Yellow — communication and inverter shutdown. Blinking means monitoring data is arriving from a power optimizer, or the inverter is shutting down.
- Red — fault. ON means an error has occurred; blinking means the inverter is being shut down.
- All LEDs on — the inverter is being configured, which is normal during commissioning and updates.
Red Light: What to Do
A steady red on any HD-Wave variant means the system has detected an error and, in most cases, stopped producing. First, open the SolarEdge monitoring platform or app and write down the exact error code — that code, not the light, is what your installer needs. Second, perform one controlled restart: turn the red ON/OFF switch OFF, wait five minutes, turn it back ON, and give the unit up to fifteen minutes to complete its startup sequence. If the red light comes back, do not keep cycling the switch; call your installer with the error code, the LED pattern, and the time the fault appeared. Never open the inverter — hazardous voltages can remain inside even when the unit looks completely dead.
When to Call a Professional
Call your installer if the red light persists after one restart, the unit never leaves blinking-green standby during clear daylight, the solar breaker trips, or you notice burning smells, scorch marks, or physical damage. Also call if the monitoring platform repeatedly reports optimizer or communication errors you cannot resolve by checking your router. Anything beyond the ON/OFF switch and a clearly labeled solar breaker is technician work.
Frequently Asked Questions
Why is my HD-Wave blinking green and blue at sunrise?
That is the normal wake-up sequence: green blinks during self-check, blue flickers as it reconnects with the optimizers and monitoring, then green goes solid as production starts. It can take several minutes.
My HD-Wave has no display. Where exactly is the LED?
On display-less HD-Wave models the single status LED sits near the bottom of the unit. You may need to look at it from slightly below; a phone flashlight helps in a dim garage.
Is a red light always serious?
It always means the inverter has flagged an error, but not every error is hardware failure — many are grid events that clear with a restart. What matters is whether it persists: a red light that survives a proper restart and returns needs professional attention.
Can I tell which variant I have?
Look at the front of the unit: if there is a small LCD screen with buttons beside it, you have the three-LED (green/yellow/red) variant. If the front is plain with a single light underneath, you have the tri-color (green/blue/red) variant. Your installer’s handover documents or the monitoring platform’s equipment page will also name the model.
Related Error Codes
- SolarEdge 2×19 — fault details and step-by-step fix
- SolarEdge 8×52 — fault details and step-by-step fix
- SolarEdge 29 — fault details and step-by-step fix
Sources: SolarEdge official LED status guide (solaredge.com/leds); SolarEdge HD-Wave installation guides (MAN-01-00250 / MAN-01-00306). Confirm which LED scheme your exact HD-Wave variant uses before diagnosing.
Need a professional?
If you're unsure about any step above — especially anything involving your breaker panel, wiring, or opening equipment — contact a qualified solar installer or electrician. It's always cheaper than a mistake.